Creating Realistic Eye Drawings: A Step-by-Step Guide
Drawing realistic eyes can be a fascinating challenge for aspiring artists, offering the opportunity to explore intricate details and nuances that bring portraits to life. This blog post will guide you through a comprehensive, eight-step process for capturing the essence of a realistic eye. From outlining the basic shape to applying finishing touches, each stage is designed to enhance your technique and confidence. Whether you’re a novice or an experienced artist looking to refine your skills, these steps are structured to help you create lifelike and expressive eyes that captivate viewers. Dive into this meticulous art journey and discover the secrets to perfecting one of the most dynamic features of portraiture.
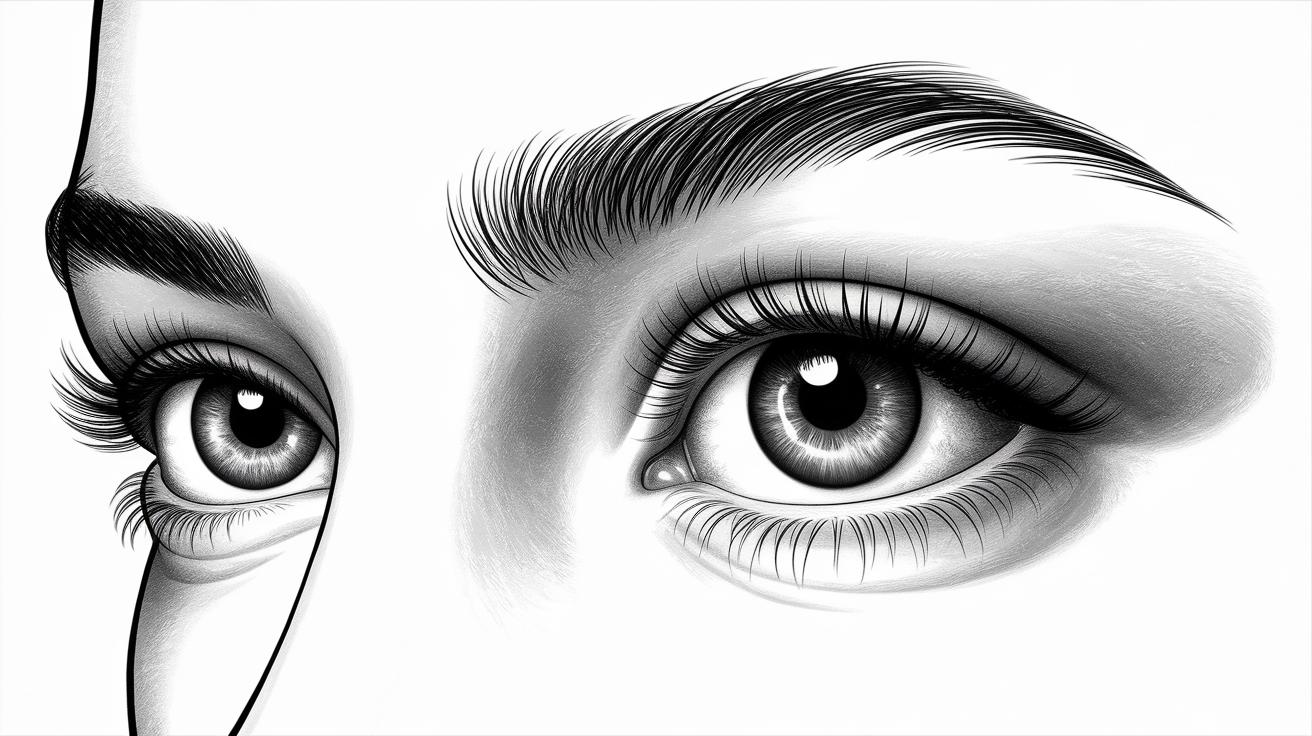
Outline the Shape of an Eye and Highlight
The first and most fundamental step in drawing a realistic eye is to outline its basic shape. Begin by sketching a large almond shape to form the basic outline of the eye. Pay special attention to proportions; the top part of the almond typically has a slight curve, indicating the upper eyelid, while the bottom can be more subtle depending on the individual’s eye shape. This initial step sets the stage for all the subsequent details and outlines crucial areas for highlighting.
Next, identify the areas where light naturally hits the eye. These highlights are crucial because they create a sense of depth and realism. Typically, the highlight appears on the upper area of the iris, near where the pupil and the iris meet. The magic of capturing realism lies in these highlights, which vary according to lighting and the wetness of the eye, giving the illusion that the eyes are alive and expressive.
Step 1: Shade the Pupil
With the eye shape outlined, focus on shading the pupil, which is the darkest part of the eye. Use a graphite pencil to fill in the pupil completely, ensuring it stands out sharply against the lighter areas of the iris. The density of shading in the pupil reflects the light absorption qualities of the eye, so make this area distinctively dark to emphasize contrast.
Keep in mind the pupil is never pitch black; it can exhibit subtle reflections depending on the lighting. Experiment with adding tiny white areas within the pupil to mimic reflections, adding an extra dimension to your drawing. These details contribute significantly to the eye’s dynamic look, capturing the viewer’s attention and drawing them into your artwork.
Step 2: Shade the Iris
Shading the iris adds to the complexity and realism of the eye. Choose a lighter pencil, such as 2B, to begin filling in the iris area. Use circular motions to apply the graphite evenly, radiating outward from the pupil. This technique helps create a smooth, even gradient that makes the iris appear three-dimensional.
An essential part of shading the iris is paying attention to the variety of tones. Most irises are not a flat color but rather a tapestry of hues and shades. Employ different pressures and pencil grades to replicate this variety, which is particularly prominent near the edges and around the pupil. This diversity simulates how light moves through the various fibers of the iris.
Step 3: Draw Spokes
To add texture to the iris, draw spoke-like lines that radiate from the pupil outward. These lines mimic the stroma found in real irises, providing a layer of detail that suggests depth and realism. Use a pointed pencil to draw these lines with varying lengths and thicknesses.
Ensure that these spokes are irregularly spaced and not uniformly drawn; nature rarely showcases perfect symmetry. The randomness in their spacing and variance in thickness adds authenticity to your drawing. By skillfully applying these lines, you create a captivating imprint of eye complexity that offers deeper visual interest.
Step 4: Blend the Iris
Blending is crucial for achieving a realistic look in the iris. Using a blending stump, gently smooth the graphite, softening the spokes you’ve drawn to meld them into the surrounding shading. This step helps integrate the iris’s disparate elements while maintaining the texture introduced in the previous step.
Be cautious not to over-blend, as the individual characteristics should still be apparent to a discerning eye. Instead, aim for a balanced look that harmonizes fine details with the smoothness of natural irises. Mastering this blending technique is often a turning point for many artists, enhancing the illusory quality of their work.
Step 5: Add Depth
Depth in eye drawings is achieved through intricate detailing and varied shading. Darken the outer edges of the iris slightly to suggest a curve into the sclera. Similarly, emphasize the shadow below the upper eyelid to mimic natural light and create further depth.
Consider introducing mid-tones within the sclera by shading lightly with a soft pencil, as the whites of the eyes aren’t perfectly white. Also, light reflections add a mesmerizing effect, creating an inviting allure. Strategically add these reflections to break monotony and animate the eye with a lifelike impression.
Step 6: Shade the Skin
The realism of an eye is significantly enhanced with well-shaded surrounding skin. Begin with shading under the eye to imitate shadows naturally created by the brow and upper eyelid. Using circular motions, gradually build shadows and highlights that reflect the lighting direction in your drawing.
Incorporate delicate lines for wrinkles or subtle creases, if desired, which will contribute to the realism of your piece. Pay attention to the delicacy of the skin around the eye; your touch here should be soft yet precise, capturing the subtle textures and transitions that characterize this area of the face.
Step 7: Draw Eyebrows and Eyelashes
Draw the eyebrows with careful attention to hair direction and thickness. Use quick, confident strokes that follow the natural flow of hair growth, varying pressure with your pencil to denote lighter or denser areas. Eyebrows are unique to individuals, so this stage allows personal flair and character to emerge in your drawing.
When it comes to eyelashes, apply careful, sweeping strokes outward from the eyelid edge. Each eyelash should have a natural curve and vary in length and thickness, closely mirroring those in nature. The character strength of your style is wielded here through singularity and nuance, influencing the emotive expression of the eye you are drawing.
Step 8: Touchups
The final step involves making touchups to ensure coherence throughout your drawing. Revisit key areas, ensuring sharp contrasts and light reflections still stand out. Refine any ambiguity in line work or shading that might detract from the overall harmony of your piece.
Consider adding reflectivity or highlights once more to create life within the drawing. With patience and a keen eye, adjust small details until you feel satisfied with the level of realism achieved. Mastery is reflected in your ability to encapsulate the vibrancy and depth within such a tiny part of portraiture.
Share to Unlock
Share this guide with your artistic friends and community to help them enhance their skills in drawing realistic eyes. Unlock the secrets to an onlooker’s wonder and enjoy the satisfaction of creating lifelike nuances together.
Leave a Comment Cancel Reply
We love to hear from our readers! Leave a comment below to share your thoughts, tips, or personal experiences with drawing realistic eyes. Engaging in this dialogue helps foster our artistic community.
Newer Comments
Check out the newer comments on our page to read insights from other readers and discover additional resources or techniques shared by fellow artists.
Newer Comments
Return regularly to peruse newer comments and continue expanding your knowledge and interaction within our artistic community.
Future Prospects
| Steps | Description |
|---|---|
| Outline the Shape | Define the eye shape with attention to highlights for added realism. |
| Shade the Pupil | Darken for contrast and subtle reflections for dynamic expression. |
| Shade the Iris | Apply even shading with gradient effects for realistic depth. |
| Draw Spokes | Add texture with spoke-like lines radiating from the pupil. |
| Blend the Iris | Gently blend with a stump for integrated, natural detailing. |
| Add Depth | Darken edges and highlight shadows for comprehensive depth. |
| Shade the Skin | Shade around the eye to mimic natural contours and textures. |
| Eyebrows and Eyelashes | You draw with realistic, directional strokes for uniqueness. |
| Touchups | Final refinement of details for visual cohesion and expression. |

