8 Easy Steps to a Sea Painting
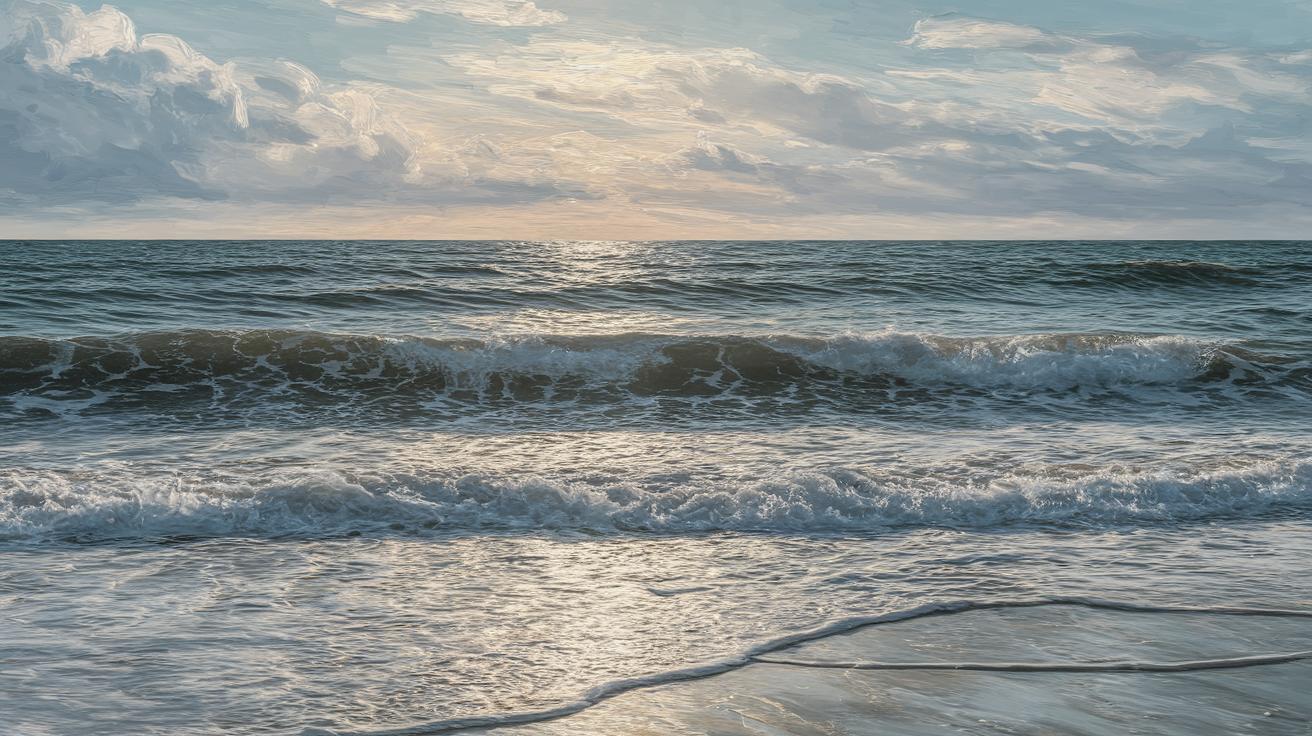
Painting the ocean is a serene yet dynamic way to capture the beauty, power, and tranquility of water. This blog post will guide you through eight easy steps to create a striking sea painting, whether you’re an expert or a beginner. Each step will build on basic artistic techniques and explore composition, color blending, and texture to bring the sea to life on your canvas. By the end of this guide, you’ll have a captivating painting and a deeper understanding of how to approach creating artwork inspired by nature’s vast oceans.
Step One: Gathering Materials
Before beginning your sea painting, it’s essential to gather all necessary materials. You’ll need a canvas of your choice, acrylic or oil paints, brushes of various sizes, a palette knife, and a palette for mixing colors. Consider using a reference photo of the ocean to guide your composition and color choices.
Choosing the right paints is crucial; oils offer rich textures and blending capabilities, whereas acrylics dry faster, allowing you to layer paint efficiently. Brushes are equally important, with flat and round brushes providing diverse strokes, and a liner brush helps with fine details. Don’t forget additional supplies like a cup of water or turpentine for cleaning brushes and a rag for wiping excess paint.
Step Two: Planning Your Composition
A successful painting starts with a well-thought-out composition. Decide whether you want a realistic depiction of the ocean or an abstract interpretation. Consider the mood you wish to convey—calm and serene or tumultuous and powerful.
Sketch your scene lightly on the canvas using a pencil or thinned paint. You may want to include elements such as waves crashing on the shore, a tranquil horizon line, or boats and seagulls to add interest. Remember the rule of thirds to balance your composition: this guides where focal points lie within the painting.
Step Three: Blocking in Colors
Begin your painting by blocking in the major areas of color. Start with a background color such as the sky and ocean. Use broad strokes and simple colors to establish the foundational layers, keeping in mind the general mood and lighting of your sea painting.
Utilize a larger brush to cover vast canvas areas quickly and ensure a smooth transition between the sky and ocean. Consider the time of day you want to depict: a sunset requires warm hues, while a midday scene might need cooler tones. The color choices in this step set the tone for the entire artwork.
Step Four: Adding Texture to Waves
Texture creates depth and realism in a sea painting, especially when depicting waves. Use a palette knife to spread thicker paint over the canvas, capturing the movement and energy of the ocean.
Experiment with different techniques to see how waves form and break. Apply paint in sweeping motions for calm seas or vigorous, choppy strokes for stormy waters. Highlight wave crests with lighter shades to accentuate their form, and blend them softly into the darker underlayers to give the impression of depth and dynamism in your seascape.
Step Five: Detailing the Sky
The sky in your painting can significantly influence the ocean’s mood. Begin adding detail by layering different shades to create clouds or a gradient effect. Use a dry brush technique to gently blend sky colors, avoiding harsh lines.
Clouds can be fluffy and white or dramatic with grays and purplish hues. Adding details like the sun or a hint of the moon can provide additional light sources, impacting how shadows and reflections appear in the water. The sky’s rendering should harmonize with the ocean, unifying the entire piece.
Step Six: Integrating Reflections
Reflections in the water can enhance realism and add complexity to your sea painting. Observe how the colors of the sky are mirrored in the ocean and apply similar tones with gentle brush strokes.
Consider the direction of light and use a soft brush or palette knife to create subtle reflections. Reflections should also include variations in color and shape to reflect the ocean’s movements, allowing them to blend seamlessly into the overall composition.
Step Seven: Capturing Movement
Conveying movement in the ocean requires attention to wave patterns and currents. Use repetitive and overlapping strokes to illustrate the ocean’s flow and movement, adding energy to the painting.
For more dynamic movement, employ techniques like dry brushing and stippling to mimic splashes and foam. These elements can enliven your painting and give viewers the sense that they’re witnessing the ocean in action.
Step Eight: Final Touches
The last step involves refining your painting and adding any extra details to complete your seascape. Assess the balance of the painting, ensuring each section is cohesive and aligned with your intended mood.
Use a fine brush to define edges and highlight key areas like wave tops, glistening reflections, or seagulls in the sky. These final touches can elevate your painting, adding vibrancy and authenticity to your depiction of the sea.
| Step | Description |
|---|---|
| Step One | Gather materials such as canvas, paints, brushes, and reference images. |
| Step Two | Plan the composition using sketches and balancing techniques. |
| Step Three | Block in major areas with foundational colors and broad strokes. |
| Step Four | Add texture to waves using palette knives and varied strokes. |
| Step Five | Detail the sky with layers to create clouds and gradients. |
| Step Six | Integrate reflections in the water to enhance realism. |
| Step Seven | Capture ocean movement through specific brush techniques. |
| Step Eight | Refine and add final touches for a complete sea painting. |